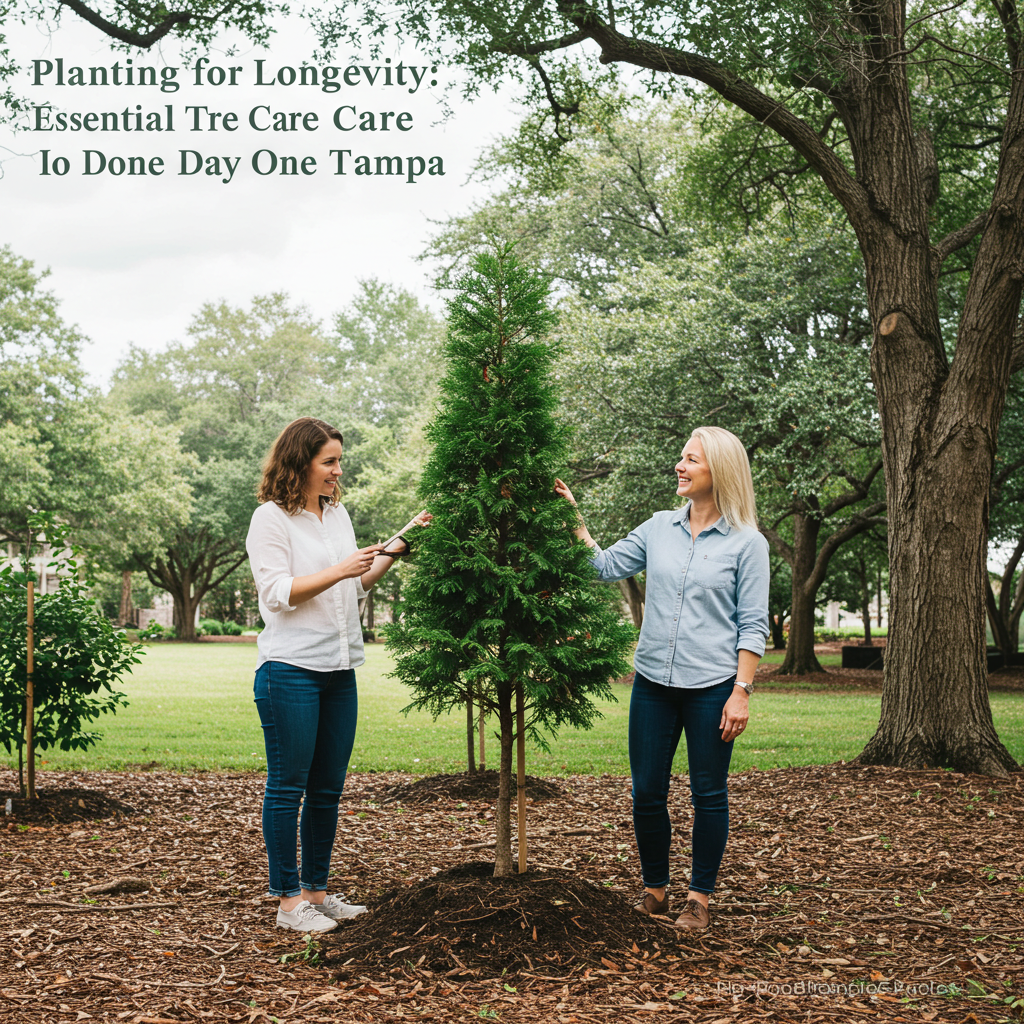
Planting for Longevity: Essential Tree Care from Day One in Tampa
Bringing a new tree into your Tampa landscape is an exciting endeavor, promising years of shade, beauty, and environmental benefits. However, the true longevity and vitality of that tree hinge almost entirely on the care it receives from the moment it’s planted. In Tampa's unique subtropical climate, with its sandy soils, intense humidity, and occasional severe weather, getting the planting process right isn't just important—it's absolutely essential. Many long-term tree problems, from stunted growth to premature decline, can be traced back to improper planting techniques. This comprehensive guide will walk you through the critical steps of planting for success, ensuring your new tree establishes a robust foundation for a lifetime of healthy growth.
Why is choosing the right spot for your new tree critical in Tampa?
Selecting the perfect location for your new tree is perhaps the most fundamental step, impacting everything from its growth rate to its susceptibility to disease. In Tampa, this decision is magnified by specific environmental factors:
- Sunlight Requirements: Different tree species have varying light needs. A tree that prefers full sun will struggle in a shaded area, while a shade-loving species will scorch under the relentless Florida sun. Research your chosen species' requirements thoroughly.
- Soil Conditions and Drainage: Tampa's soils can range from sandy and well-draining to more compacted or poorly draining areas. Most trees prefer well-drained soil. If your soil is heavy clay or drains poorly, consider amending it with organic matter or creating a raised planting bed. Poor drainage can lead to root rot, a common killer of newly planted trees.
- Space for Mature Growth: Always envision the tree at its full mature size, not just its nursery size. Consider its spread, height, and root system. Planting too close to your home, driveway, sidewalks, or other structures can lead to costly damage from invasive roots or overgrown branches in the future.
- Proximity to Utilities: Before digging, always call 811 (Sunshine 811 in Florida) to have underground utility lines marked. Planting near water pipes, sewer lines, or electrical cables can create dangerous situations and significant repair costs down the line. Overhead power lines also dictate maximum tree height.
- Wind and Storm Protection: While you can't eliminate hurricane risk, strategic placement can offer some protection. Consider planting on the leeward side of structures if possible, or choosing species known for their wind resistance.
What are the fundamental steps for proper tree planting in Tampa?
Once you've chosen the ideal location, the actual planting process demands precision. These steps ensure your tree's root system can properly establish and thrive:
- Dig a Wide, Shallow Hole: This is arguably the most crucial step. The hole should be 2-3 times wider than the root ball, but only as deep as the root ball itself. Most tree roots grow outward, not downward, and compacted soil at the sides of a narrow hole can restrict this growth. A wide hole allows roots to expand into looser soil.
- Identify the Root Flare: The root flare is the point where the tree's trunk broadens as it meets the root system. This flare should be visible at or slightly above ground level once the tree is planted. Often, nursery trees are planted too deep in their containers or balled-and-burlapped (B&B) packages. Gently remove excess soil from the top of the root ball until the root flare is exposed. Planting too deep is a leading cause of tree failure.
- Prepare the Root Ball: For containerized trees, carefully remove the tree from its pot. If roots are circling the pot, gently tease them apart and spread them out. You may need to make a few vertical cuts through the outer roots to encourage outward growth. For B&B trees, place the tree in the hole, then remove burlap, twine, and wire baskets (at least from the top two-thirds of the root ball). These materials can girdle the trunk or roots as the tree grows.
- Position the Tree: Carefully place the tree in the center of the hole, ensuring the root flare is at or slightly above ground level. If the tree settles after watering, you want the flare to remain visible. You can use a shovel handle across the hole as a guide.
- Backfill Carefully: Use the original soil you dug out to backfill the hole. Do not add excessive amendments unless your soil is extremely poor, as this can create a
Need Professional Assistance?
Get a free, no-obligation estimate from our expert local team today.